
A bumpy, textured ceiling was often a quick way to hide flaws in the original drywall work, or just a popular style at the time. These days, most people prefer the clean look of a smooth ceiling since it reflects light better and makes a room feel more modern. Changing a textured ceiling to a smooth one is a bigger, messier job than a simple paint refresh, but it’s far from overwhelming once you know the process. This guide walks through exactly how to smooth a textured ceiling, the tools that make the biggest difference, and the pro techniques that separate a clean finish from a patchy one.
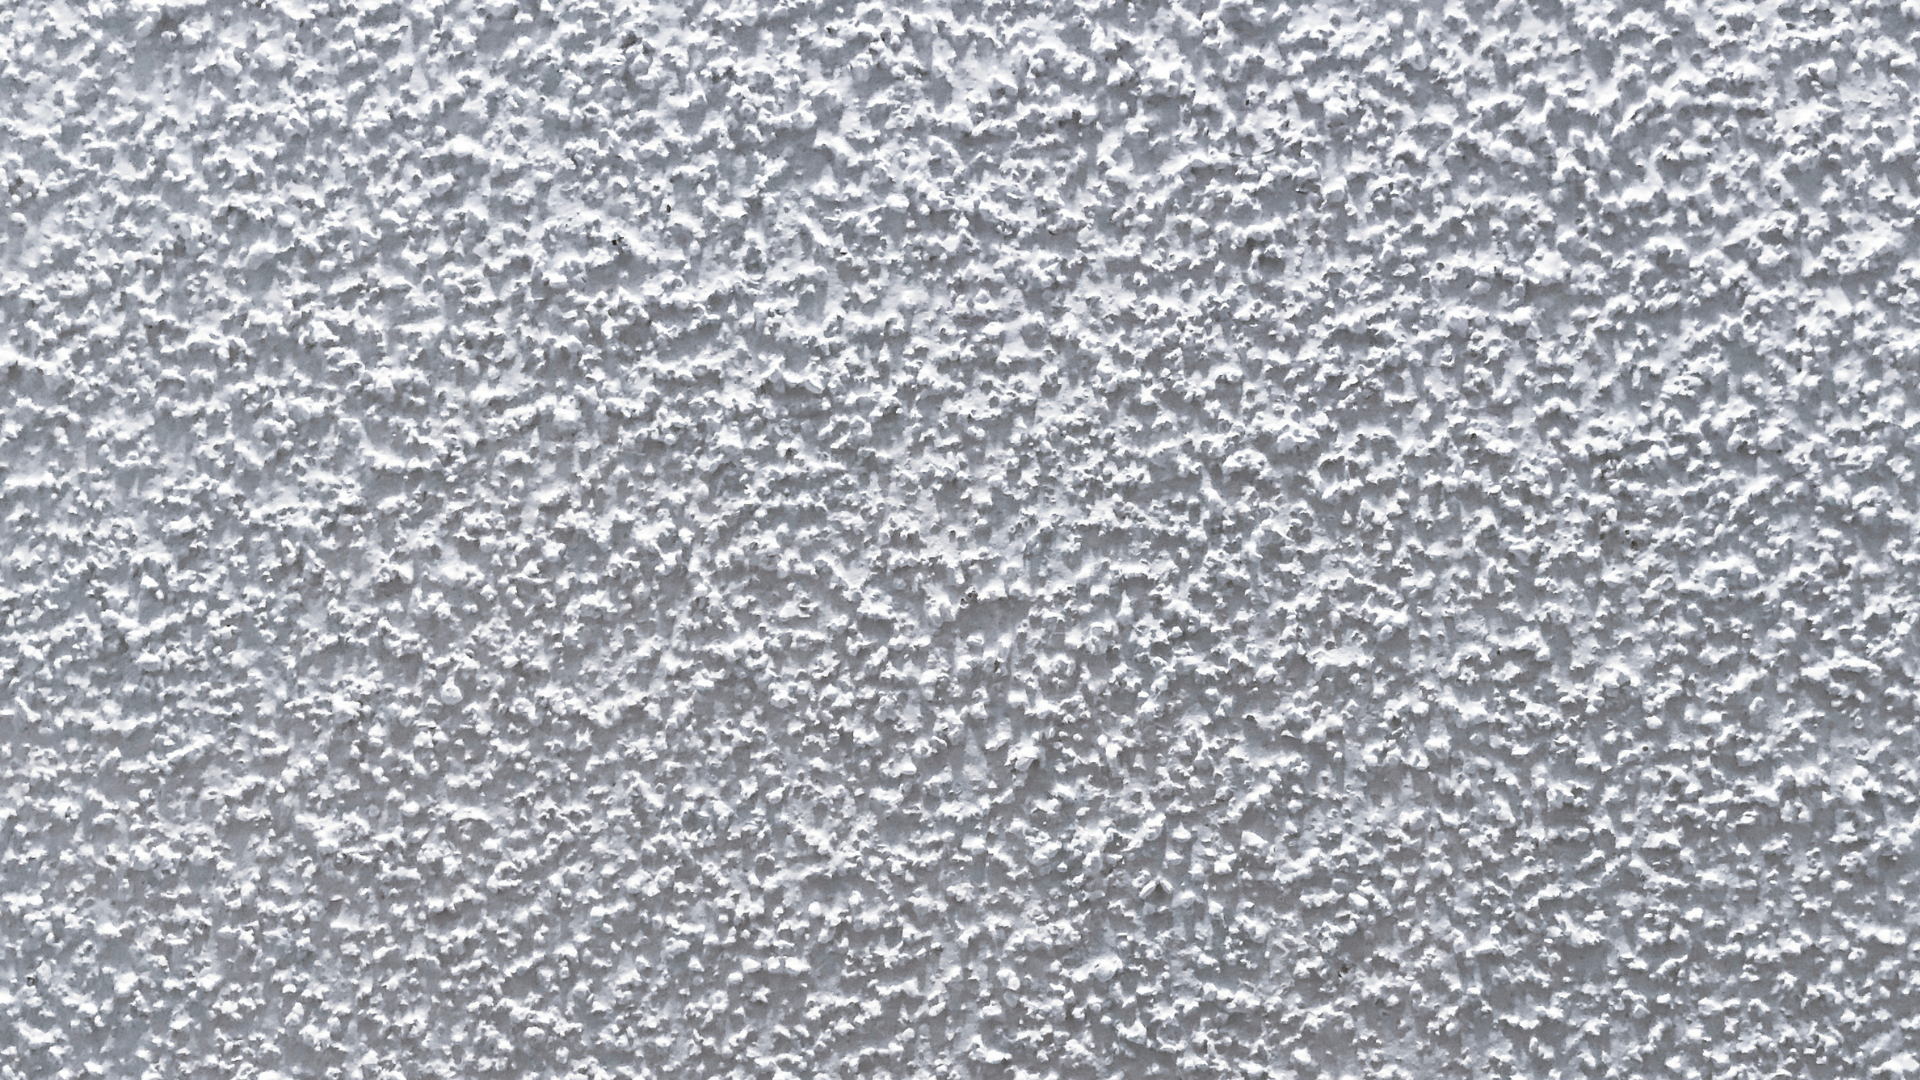
Smoothing a Textured Ceiling: The Steps
Why Smooth Out a Textured Ceiling?
Textured ceilings were a fast fix for hiding imperfections and dampening sound, sprayed on or hand-troweled into popcorn or swirled patterns. Today, a smooth ceiling reflects light more evenly, makes a room look larger, and is far easier to clean and paint without the crevices that trap dust. Beyond looks, removing dated texture can boost resale appeal, and for older homes it can address a real safety concern, since textures from the mid-20th century sometimes contain asbestos. This process takes precision. Rushing it leads to uneven surfaces or lingering imperfections, which is why pros work through it in careful, deliberate steps.
Tools and Materials You’ll Need
- Fast-setting joint compound
- Finishing trowel (10 to 12 inches) and a taping knife (6 to 8 inches)
- A roller with a ¾ inch nap, if you prefer applying compound by roller before smoothing it with a blade
- Hawk, for holding compound while working overhead
- Drill with a mixing paddle
- 220-grit sandpaper and a pole sander
- Ladder or staging planks
- Drop cloths (canvas and plastic)
- Damp rags
- Safety gear: gloves, eye protection, dust mask
- Primer and flat ceiling paint
The Festool system is worth knowing about too. It captures dust during removal work and cuts down on cleanup significantly, though standard tools work fine for a careful DIYer.
Preparing the Space
Clear the room completely, or move everything to the center and cover it with plastic. Canvas drop cloths hold up better on floors than thin plastic, and painter’s tape along the top third of the walls protects them from drips. Keep the air moving with open windows or a fan, and turn off the HVAC so dust doesn’t spread through the vents. Switch off power at the breaker for any light fixtures and tape them off or remove them.
Safety matters here more than almost anywhere else in the process. Ceilings older than the 1980s might contain asbestos, so avoid sanding or disturbing the texture until a professional test confirms it’s safe. If asbestos turns up, hand the job to certified specialists rather than attempting removal yourself. Even without asbestos, wear a dust mask, gloves, and goggles throughout.
Applying the Compound and Getting It Smooth
Start by wiping the ceiling with a damp rag and cold water to clear dust and grease, then let it dry fully before you begin. Mix the joint compound with water to a consistency thicker than cake batter, then apply it in a thin layer over the ceiling, working in small sections. Some pros load a hawk and taping knife from the start; others find it faster to roll the compound on first with a thick-nap roller and then smooth it out with a blade. Either works. Keep a wet edge as you go to avoid visible seams.
Let the first coat dry for about 45 minutes, then sand it lightly to knock down ridges before adding the next coat. This is a step worth not skipping. Sanding between every coat, not just at the end, keeps each layer level so the next one goes on evenly, and it’s one of the most common misses in a DIY skim coat. Vacuum the dust off before you apply the next layer, since leftover dust creates its own small bumps. Most ceilings need two to three coats depending on how deep the original texture was, sweeping each coat in a different direction from the last to minimize visible lines.
Once the final coat is fully dry, usually after about 24 hours, sand lightly with 220-grit paper, focusing on seams and high spots without exposing the texture underneath. Wipe away the dust and check the surface under angled light, which reveals flaws a straight-on look will miss.
Finish with a quality primer to seal the compound, then apply two coats of flat ceiling paint, allowing 2 to 4 hours of drying time between coats. Flat finishes hide small imperfections far better than anything with sheen.
Pro Tips for a Flawless Finish
- Work in small sections, roughly 3 to 4 square feet at a time, so the compound stays workable.
- Keep tools clean. Dried bits of compound on a trowel or knife cause lumps in the finish.
- Use an angled work light to spot imperfections while the compound is still wet, when they’re easiest to fix.
- Thin layers beat thick ones. Heavy coats crack or sag under their own weight.
- Test the texture depth first. Shallow textures skim easily, while deeper patterns may need a bonding agent like PVA to help the compound adhere.

Let ByeByePopcorn Handle the Hard Parts of Your Ceiling Project
Smoothing a textured ceiling comes down to patience more than any single trick: clean prep, thin coats, sanding between every layer, and a careful eye under good light. Anyone comfortable with basic DIY can get there with the right tools and enough time built into the schedule. For bigger or more textured ceilings, the process just takes longer and rewards a steady hand.
If the texture on your ceiling is deep, damaged, or you’d rather skip the days of sanding altogether, ByeByePopcorn’s team handles removal and painting using the Festool system, which keeps dust contained and the job cleaner than standard tools allow. Reach out and we can tell you whether a full skim coat, a removal, or a repaint makes the most sense for your ceiling.
FAQs: Smoothing a Textured Ceiling
How long does it take to smooth a textured ceiling?
A standard room (200 to 300 square feet) usually takes 1 to 3 days including drying time between coats. Larger or more heavily textured ceilings can stretch closer to a week, and prep and cleanup add extra hours on top.
Can all textured ceilings be smoothed out?
Most can. Shallow textures just need a skim coat, while deeper patterns need extra coats or a bonding agent. Asbestos or serious surface damage changes the approach, so test a small area first if you’re unsure.
What does it cost to smooth a textured ceiling?
A DIY skim coat runs roughly $50 to $150 in materials for compound, sandpaper, and paint. Professional pricing varies by provider and ceiling condition, and it’s worth prioritizing quality over the lowest quote here.
Is it safe to smooth a ceiling that might have asbestos?
Not without testing first. Undisturbed asbestos poses little risk, but sanding releases fibres into the air. A lab test confirms whether it’s present, and certified specialists should handle removal if it is.
Do I need to paint after smoothing a textured ceiling?
Yes. Raw joint compound looks unfinished and absorbs moisture without a seal. Primer evens out the surface and two coats of flat paint give it a clean, durable finish.